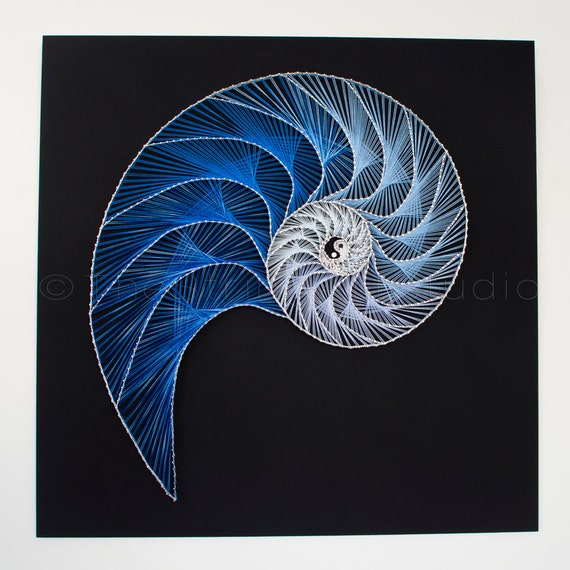
String art is really popular right now but searching for ideas can be disappointing. You seem to find two basic types of sites either very generic patterns without a lot of detail(
like the left) or more elaborate patterns with links to where you can buy the finished product not make your own. (
as on the right) Both are very cool but if, like me, you'd like to know more about creating your own read on.

I've been working a string art piece to fill a large empty wall in our house and thought I'd walk you through the entire process. By the end, you should not only be able to recreate my design exactly if you like but also come up with your own awesome creation.
The first step is to choose a design. String art uses the mathematical concept of creating curves with straight lines. (You can read more about it on websites
here and
here. )The best designs are going to be either entirely geometric or a combo of straight and curved lines. I decided to make a design using the Hylian crest and master sword from the Legend of Zelda. We have a very large empty space above our couch so I decide to use a base that was 4 foot by 4 foot. I'm sure that there's a variety of ways to get your design transferred to your base I'll walk you through my method and all the pros and cons for it.

I first created the design I wanted by layering some elements in Photoshop but I had problems when I tried to increase the size in that program. By the time it was large enough to fill the space I wanted the design had become much too pixelated and blurry to be useful. So I decided to use a projector to trace the design. The first step involved taping sheets of paper together to get a large enough piece for the design. I also ran into issues with this method. If I printed the design larger, it was easier to get it sized correctly and in focus but I could only fit a portion of it under the projector at once. It was very difficult to get the parts to line up by raising and lowering the projector. When I attempted to print it small enough the entire design fit on the projector at one time I could either get it in focus or large sized but not both at once.

I finally managed to get one-half transferred well and then took advantage of the large picture window at my Mom's house to trace the other half.
Once you have your design the next step is to think about the pattern of lines you want to use in order to figure out your nail placement. I did this mostly by doodling parts of the design and later drawing directly on my template to try things out. I'll talk more about the details of my design when I post about the actual order to wrap the string but when you look at the template you will see there are some lines that have no nails at all because they are created by the string between other points.


I tried to use a variety of patterns on the different parts of my design. The pattern you use will determine nail placement. For the shield areas, I am using a random all-over design so the edges have nails about every half-inch. The sword blade has a chevron with half-inch on the outside edge and I think it was one and a half inches down the center. The handle also has nails every half-inch on the outside, less down the center. There actually end up being some closer together just to help define the shape. I am doing a simple outline on the handle so I needed a nail anywhere the handle turned. The triforce has nails every half-inch on each side of every triangle and so on. I will post the template for download so you can see the exact placement but I wanted to give a general idea for those trying to create their own unique spin.

Once you have the template and design all figured out its time to get your base ready. I am using a 47 by 47-inch sheet of pine plywood. I sanded it down a bit and painted it with flat black spray paint.
At this point, I am still working on getting all the nails placed. I have been waylaid by a variety of things such as cleaning up branches that fell during storms. I've also spent this last week fighting an ear infection so I hope that everything in this post makes sense. Feel free to ask questions in the comments if you need clarification, as I get to feeling better I should be able to make more sense.
You simply put a nail at each point marked on the template. They need to be deep enough to hold firmly but not so deep you don't have space to wrap the string around later. Ideally, everything should be in straight even lines and the all the nails at the same height.
I gave up on this because I realized that with the number of nails I needed to hammer in if I worried about perfection I'd never be done. Because of the type of board, I'm using some of the nails have gone in super easily while other require more hammering. At this point, I've used a box and a half of nails, worked for around 3 hours total and have a little more than a quarter of the design hammered in.


