
Finally I can show you what all this spray painting was about. . .
For a house without any children in residence we have an awful lot of Lego and other figurines and decided we needed a place to store and display them.

We have a photo wall that has a blank space that we thought would be a good spot to show them off. The plan was to collect enough cans to fill the space, paint them, and hang them like picture.
The painting went fairly well, aside from all the rain. You can still see the areas where the labels were glued to the cans but with a little bit of care it should be easy to hide when gluing the cans together.

Some of the cans ended up with a strange texture from the paint on the inside. I'm not really sure what caused it so unfortunately I can't offer any advice on how to prevent it. But again with the way I'm putting everything together it shouldn't be a big problem.

You can arrange the cans in whatever kind of pattern you'd like, even using different sizes of cans or leaving empty spaces if you like. We wanted to have maximum space for figures in the smallest space so we used just a simple offset pattern. They are attached to each other with hot glue some kind of super glue. Just pay attention to the glue marks on the cans and try to put them to the inside so they will be less noticeable.
Update 8/19/2015
When I lifted the original piece up the hot glue gave out and everything fell apart. I tried again using Amazing Goop and it seems to be holding up much better. We used an offset pattern with 5 in one row then 4 in the next.

I glued each row individually then glued the rows together. While everything dried I used bulldog clips to hold everything in place. Edit: Make sure everything is flat and level before the glue dries.

I also decided to put in decorative backgrounds to match each figure. (I had already decide to do this before the paint problems but it's a good solution for that as well.) I used Photoshop to print each picture in a 3 inch circle. The cans we have are about 3.25 inches so that leaves about 1/8 inch border around each. I glued these in with spray glue. Eventually we have some figures we can't find a good setting for but you can either use just a decorative paper or leave them with just paint.

The Lego figures have bases that fit pretty well across the bottom of the cans so they are fairly sturdy and level. The ponies don't have anything like that and we may eventually need to come up with a solution to keep them from falling over but so far it looks great.


Once we get everything painted and glued together the final step is to glue a picture hook on the back and hang the whole thing up. We hope to be able to get about 36 slots (6x6 cans) but that may or may not be enough to hold everything we have. Depending on how it fits in our wall space if we have extra room it should be easy to add on. If that fills the whole area then. . . well I guess we'll just have to make another display somewhere else.
Update 8/19/2015
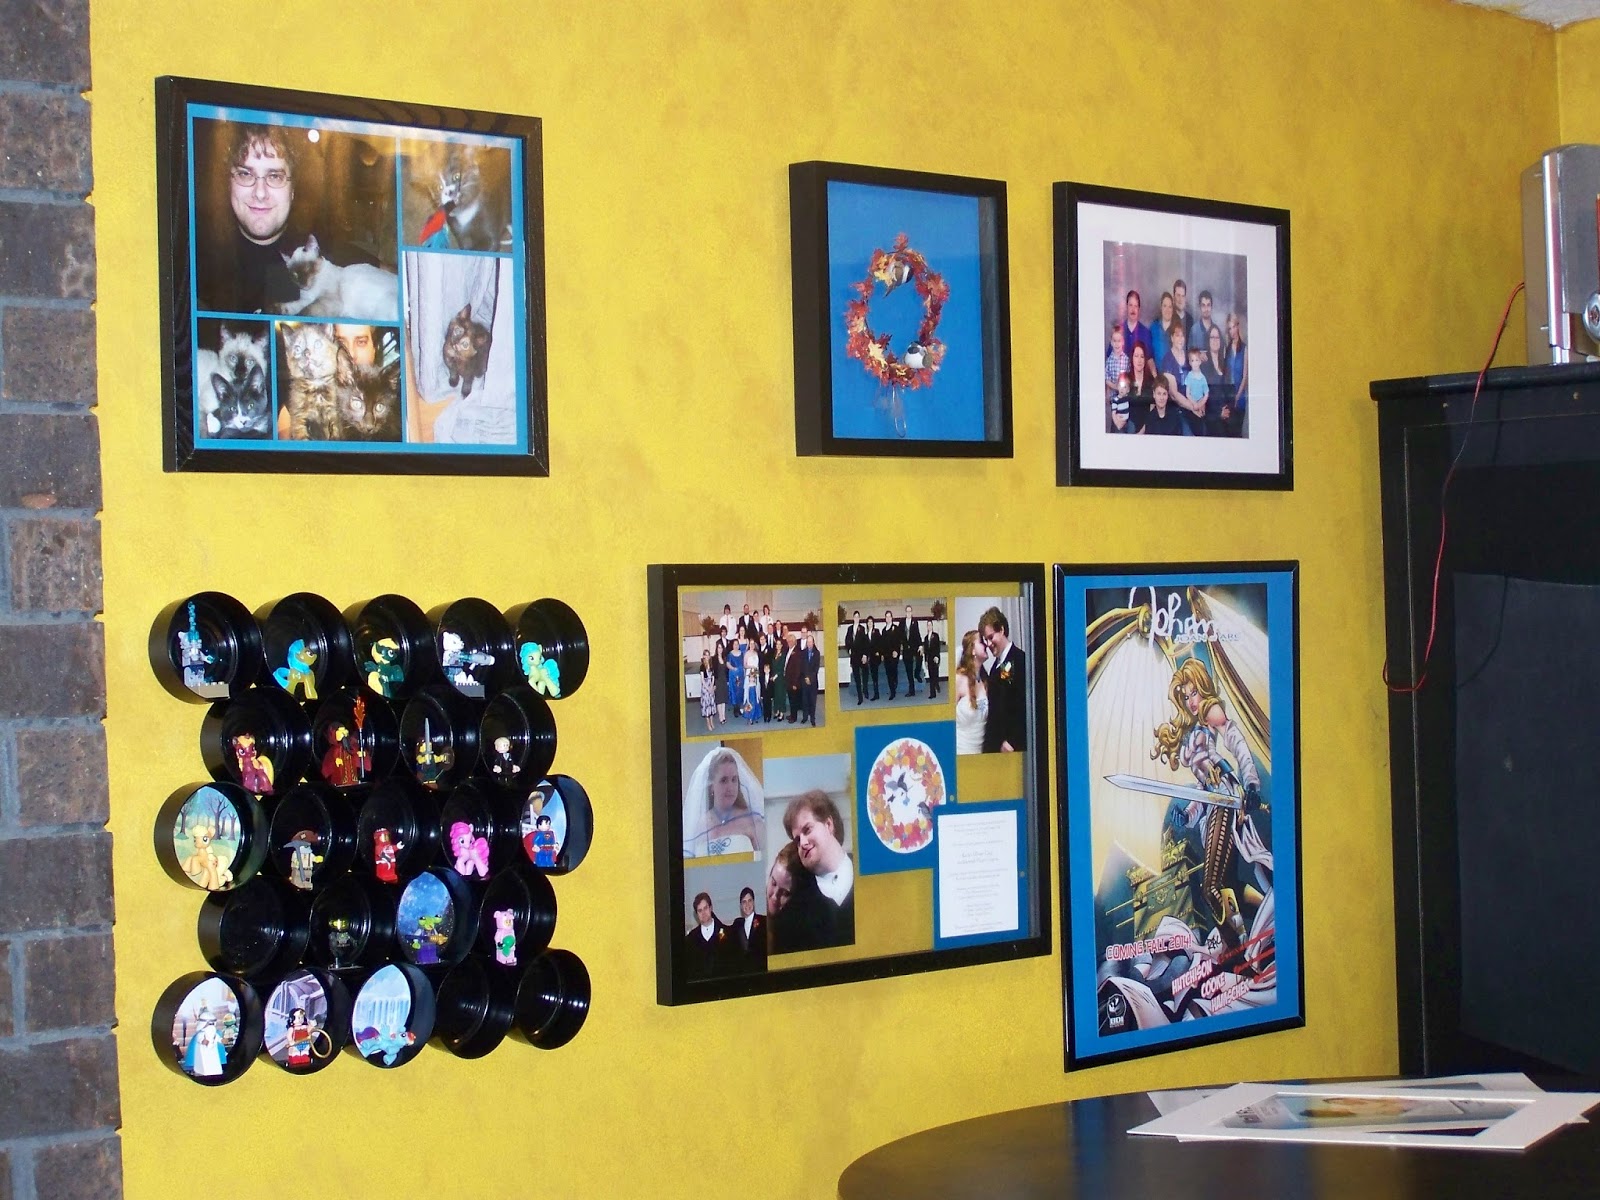
We ended up with 23 slots but, because of the pattern I used we should be able to add more cans fairly easily. I'm still working out what I want for backgrounds for everything but this is what it looks like on the wall. . .

Somehow when I glued the rows to each other the whole thing ended up a little warped.


More pictures of it in completed and in place.


No comments:
Post a Comment