
A few years ago my husband had some serious problems getting around in the winter. He had a rear wheel drive pickup that had worked been working just fine but that year was extra snowy. After several bad day, including one where he go to work only to be stuck on the uphill driveway and have to walk the last hundred yards or so, we started looking for a new vehicle for him. The main thing that we wanted was something with four wheel drive to make winter travel easier. He did a lot of checking around online and eventually we found a Ford Escape at Carmax that was within our budget. The problem? It happened to be white and for some reason my husband really didn't want a white car. However he talked himself into it by calling it a Hoth transport.

Since then we've had several different ideas about ways to customize as an Imperial Hoth vehicle. This weekend we finally decided to give one of those ideas a try. I came across Plasti-dip somehow on Pinterest and watched a couple of videos where people used it to detail their cars. Its not something that I know a lot about but it looked fairly easy. We decided to get a can and try to paint the Imperial symbol on the hood. If it worked out well we could add silhouettes on the side of defeated enemies and if the whole thing failed miserably we could always just peel everything off again.
The first step was making a stencil. I just traced the symbol onto a piece of cardboard and cut it out. We actually made an inverse of the usual symbol because it was easier to cut the stencil that way.

Some tips for cutting:
Don't try to cut all the way though on the first pass. If you just cut the top layer on the first pass you can have better control and stay on the pattern. Then when you do a second cut the blade will follow that cut and you can concentrate on getting through all the layers without worrying about messing up the design.Always cut toward the center of the piece you are removing. If you cut to far it will be in the discarded bit no the part you wanted to keep.
After everything is cut out you should go back and check all the corners and clean them up a little.
 |
| Before |
Make sure the car is clean and dry before you start. The instructions also recommend choosing a day with low humidity and winds. We started by making sure the stencil was centered and taping it in place. (Be sure to use tape that won't damage the finish on your car.) We also taped on some extra newspaper to make sure we didn't have problems around the outside of the pattern.


Use short overlapping strokes and multiple coats to build up a nice solid color. Here it is after the third coat.

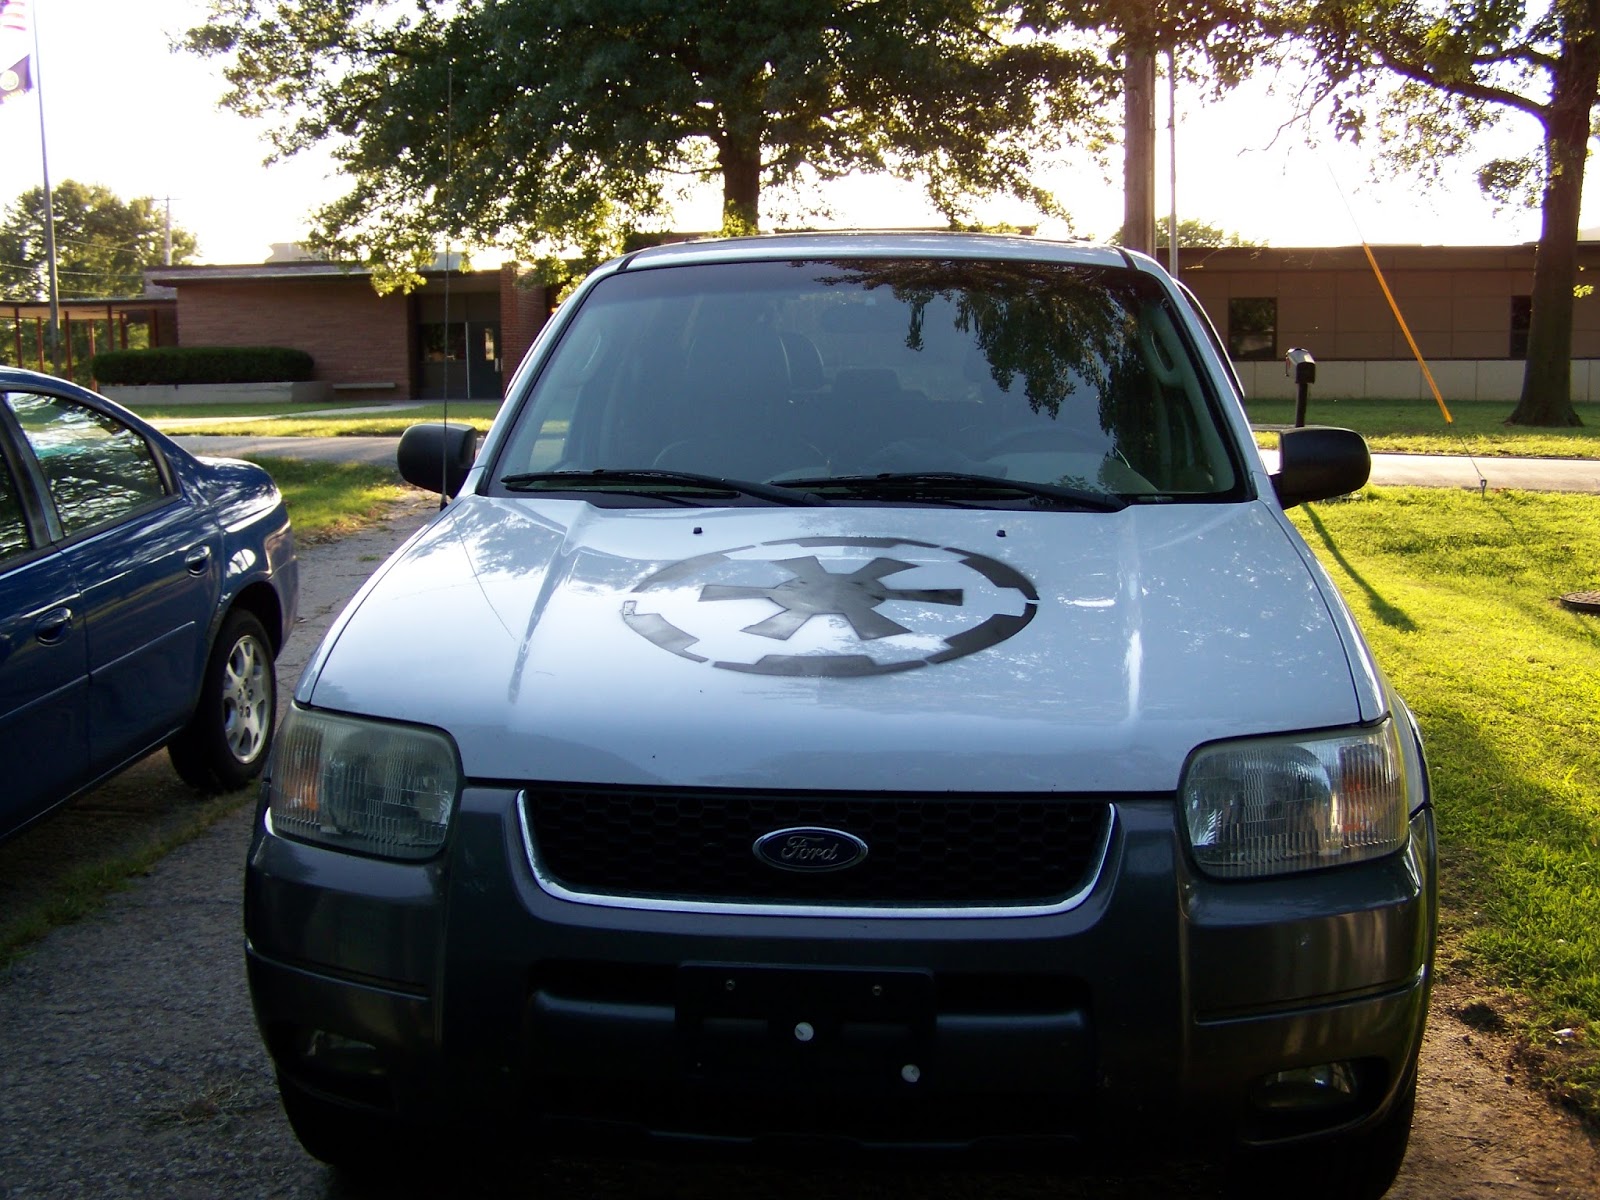

In the close up above you can see where we've started to rub off some of the excess spray. It comes off fairly easily so we hope to be able to get it cleaned up some. I had envisioned the whole thing with a much crisper edge but it turned out with a kind of graffiti look. All in all a think it turned out really well, especially for a project unlike anything I've ever done before. That being said if we ever try it again I think we'll try to find a big sheet of stick on vinyl to use for the stencil so it gets that crisp edge. For now I think we're going to leave it as is and see how we like it over time. The great thing is if we decide it really is too sloppy we can just peel the whole thing off and start again.
No comments:
Post a Comment