Start here for basic instructions for paper snowflakes Creek Line House.
Movies and TV
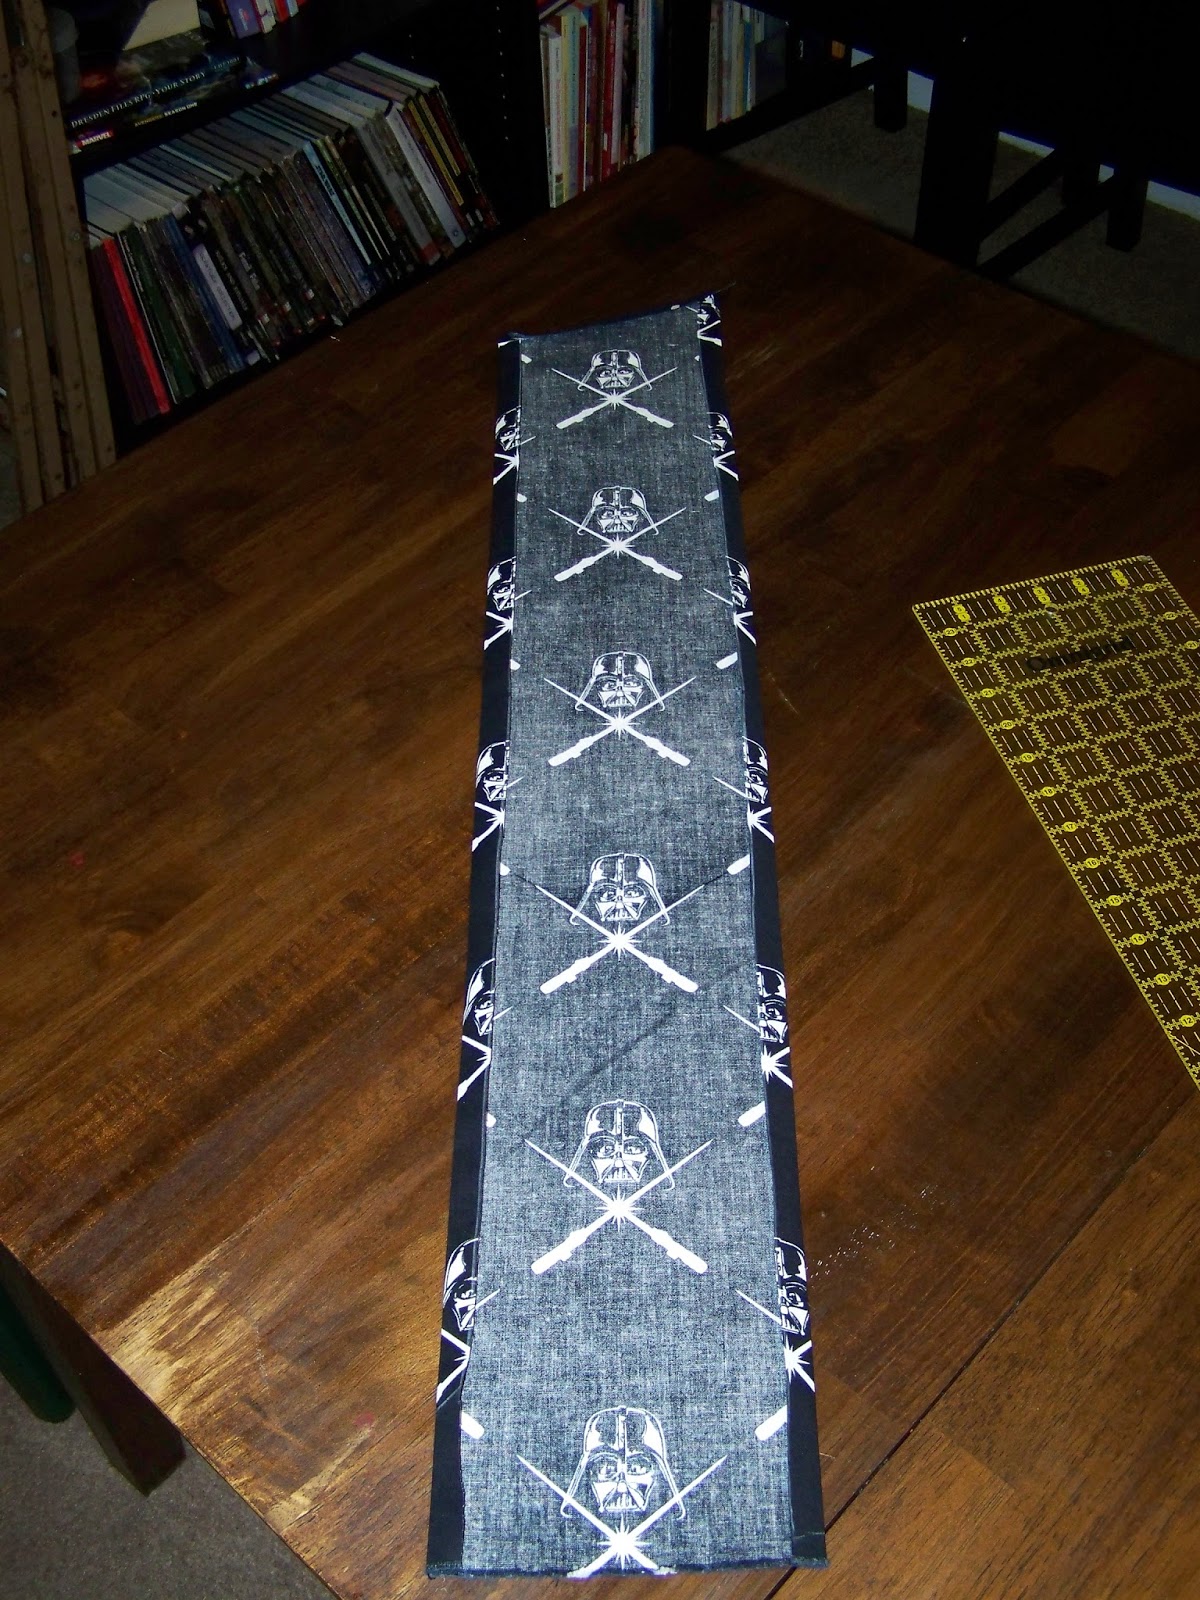
Star Wars
This collection from Matters of Grey includes 33 Star War themed flakes.
Anthony Herrera Designs has released a new set of snowflakes every year for the last several years. Each set contains templates for 6-7 designs.

The site also has templates for Guardians of the Galaxy.

Star Trek
Wings on Water posted pictures of several Star Trek snowflakes, unfortunately templates are not included. That being said with the inspiration you should be able to create a templated or design of your own.
There is a template available for this Enterprise snowflake featured on Buzzfeed.

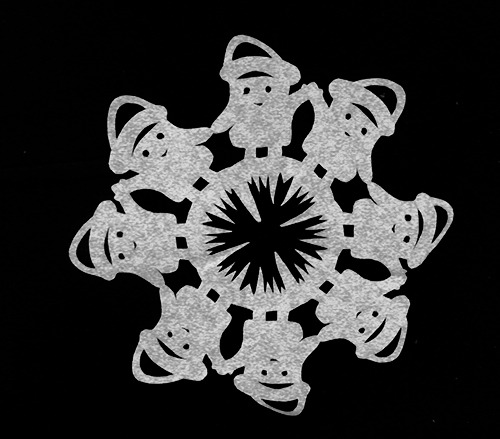
Harry Potter
Harry Potter flakes from Suzy Homeschooler
Jen Draws It on has some snowflakes on her page at deviantart.com. (No Template)

Superheros
Templates for several Superheroes from Comic Book Resource
Superman Snowflake from Flickr

Game of Thrones
Game of Thrones by Kyrstal Higgins
Lord of the Rings
Leaves of Lothlorien by ldhenson (No Template)
Cation Designs has a version of the Evenstar and the symbol of Rohan.

Dr. Who
I personally am not a huge Dr. Who fan but I have lots of friends who are and there are a ton of snowflake design out there for the show. These are just a few a google search will find others.Oddly Crafting tumblr has several posts including the following:
 |
| Who Flakes |
 |
| Who Flakes 2 |

The Anti-Craft also has templates for several designs including this Sonic Screwdriver Flake.
Firefly/ Serenity
My favorite in this entire post is this Firefly snowflake found on Geek with Curves. I would like to see more Firefly based designs out there... Maybe that's something I'll have to work on for next year?
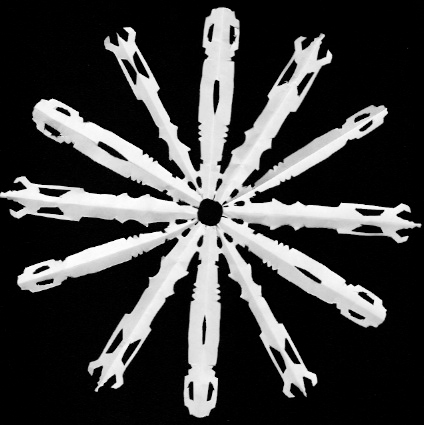
Stargate
From Fool of a Touque

Video Games
Fallout Series
With the recent release of Fallout 4 I had to include this Vault Boy flake by Stacey Herron.
Legend of Zelda
Zelda and Mario by The Nifty Nerd
Hylian Shield design found on Instructables (No Template)

Zelda Templates found on Pinterest.
 |
| Zelda Flake |
 |
| Zelda Flake 2 |
Final Fantasy
Moogle found on imgur. (No Template)
Skyrim
 |
| Skyrim design with Template |
 |
| Skyrim Flakes from Nerdapproved (No Template) |
 |
| Skyrim (No Template) |
Minecraft
Minecraft by The Joys of Boys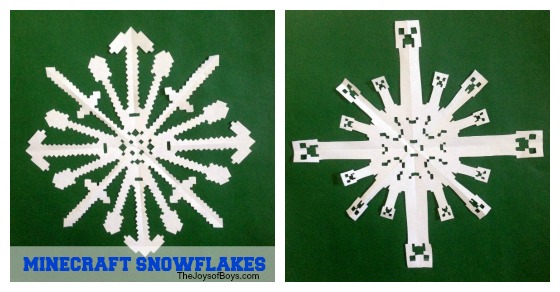
Miscellaneous
Steampunk Gearflake from Tish Tosh Tesh
Download templates for these Lego Snowflakes by Pink Stripey Socks

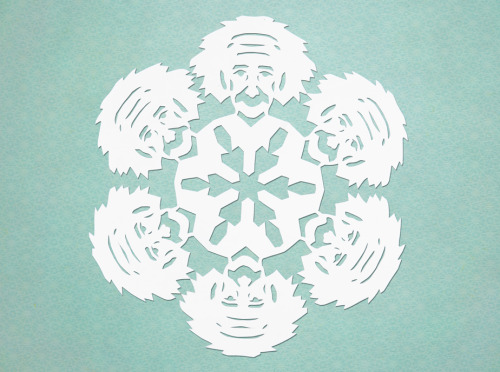
Nobel Physicists via Geek Art Gallery
And finally this fantastic Transformers snowflake on deviantart.com (No Template)

Hope you enjoyed the designs I found. Please feel free to add links to others you may know of in the comments sections. I'd really like to see some Dungeons and Dragons or other RPG type snowflakes. That's another set that I could work on for later. Dragons or maybe polyhedral dice designs.
Updated 12/20/15 to include Stargate and Gear Snowflakes
Update 12/23/2015 Wizards of the Coast created snowflake templates! Including one for a gelatinous cube which is hilarious and awesome. You can download them here. Scroll down to see a few I just made.